The Ultimate Guide to Yosemite National Park
Backpacking Yosemite and Half Dome Cables
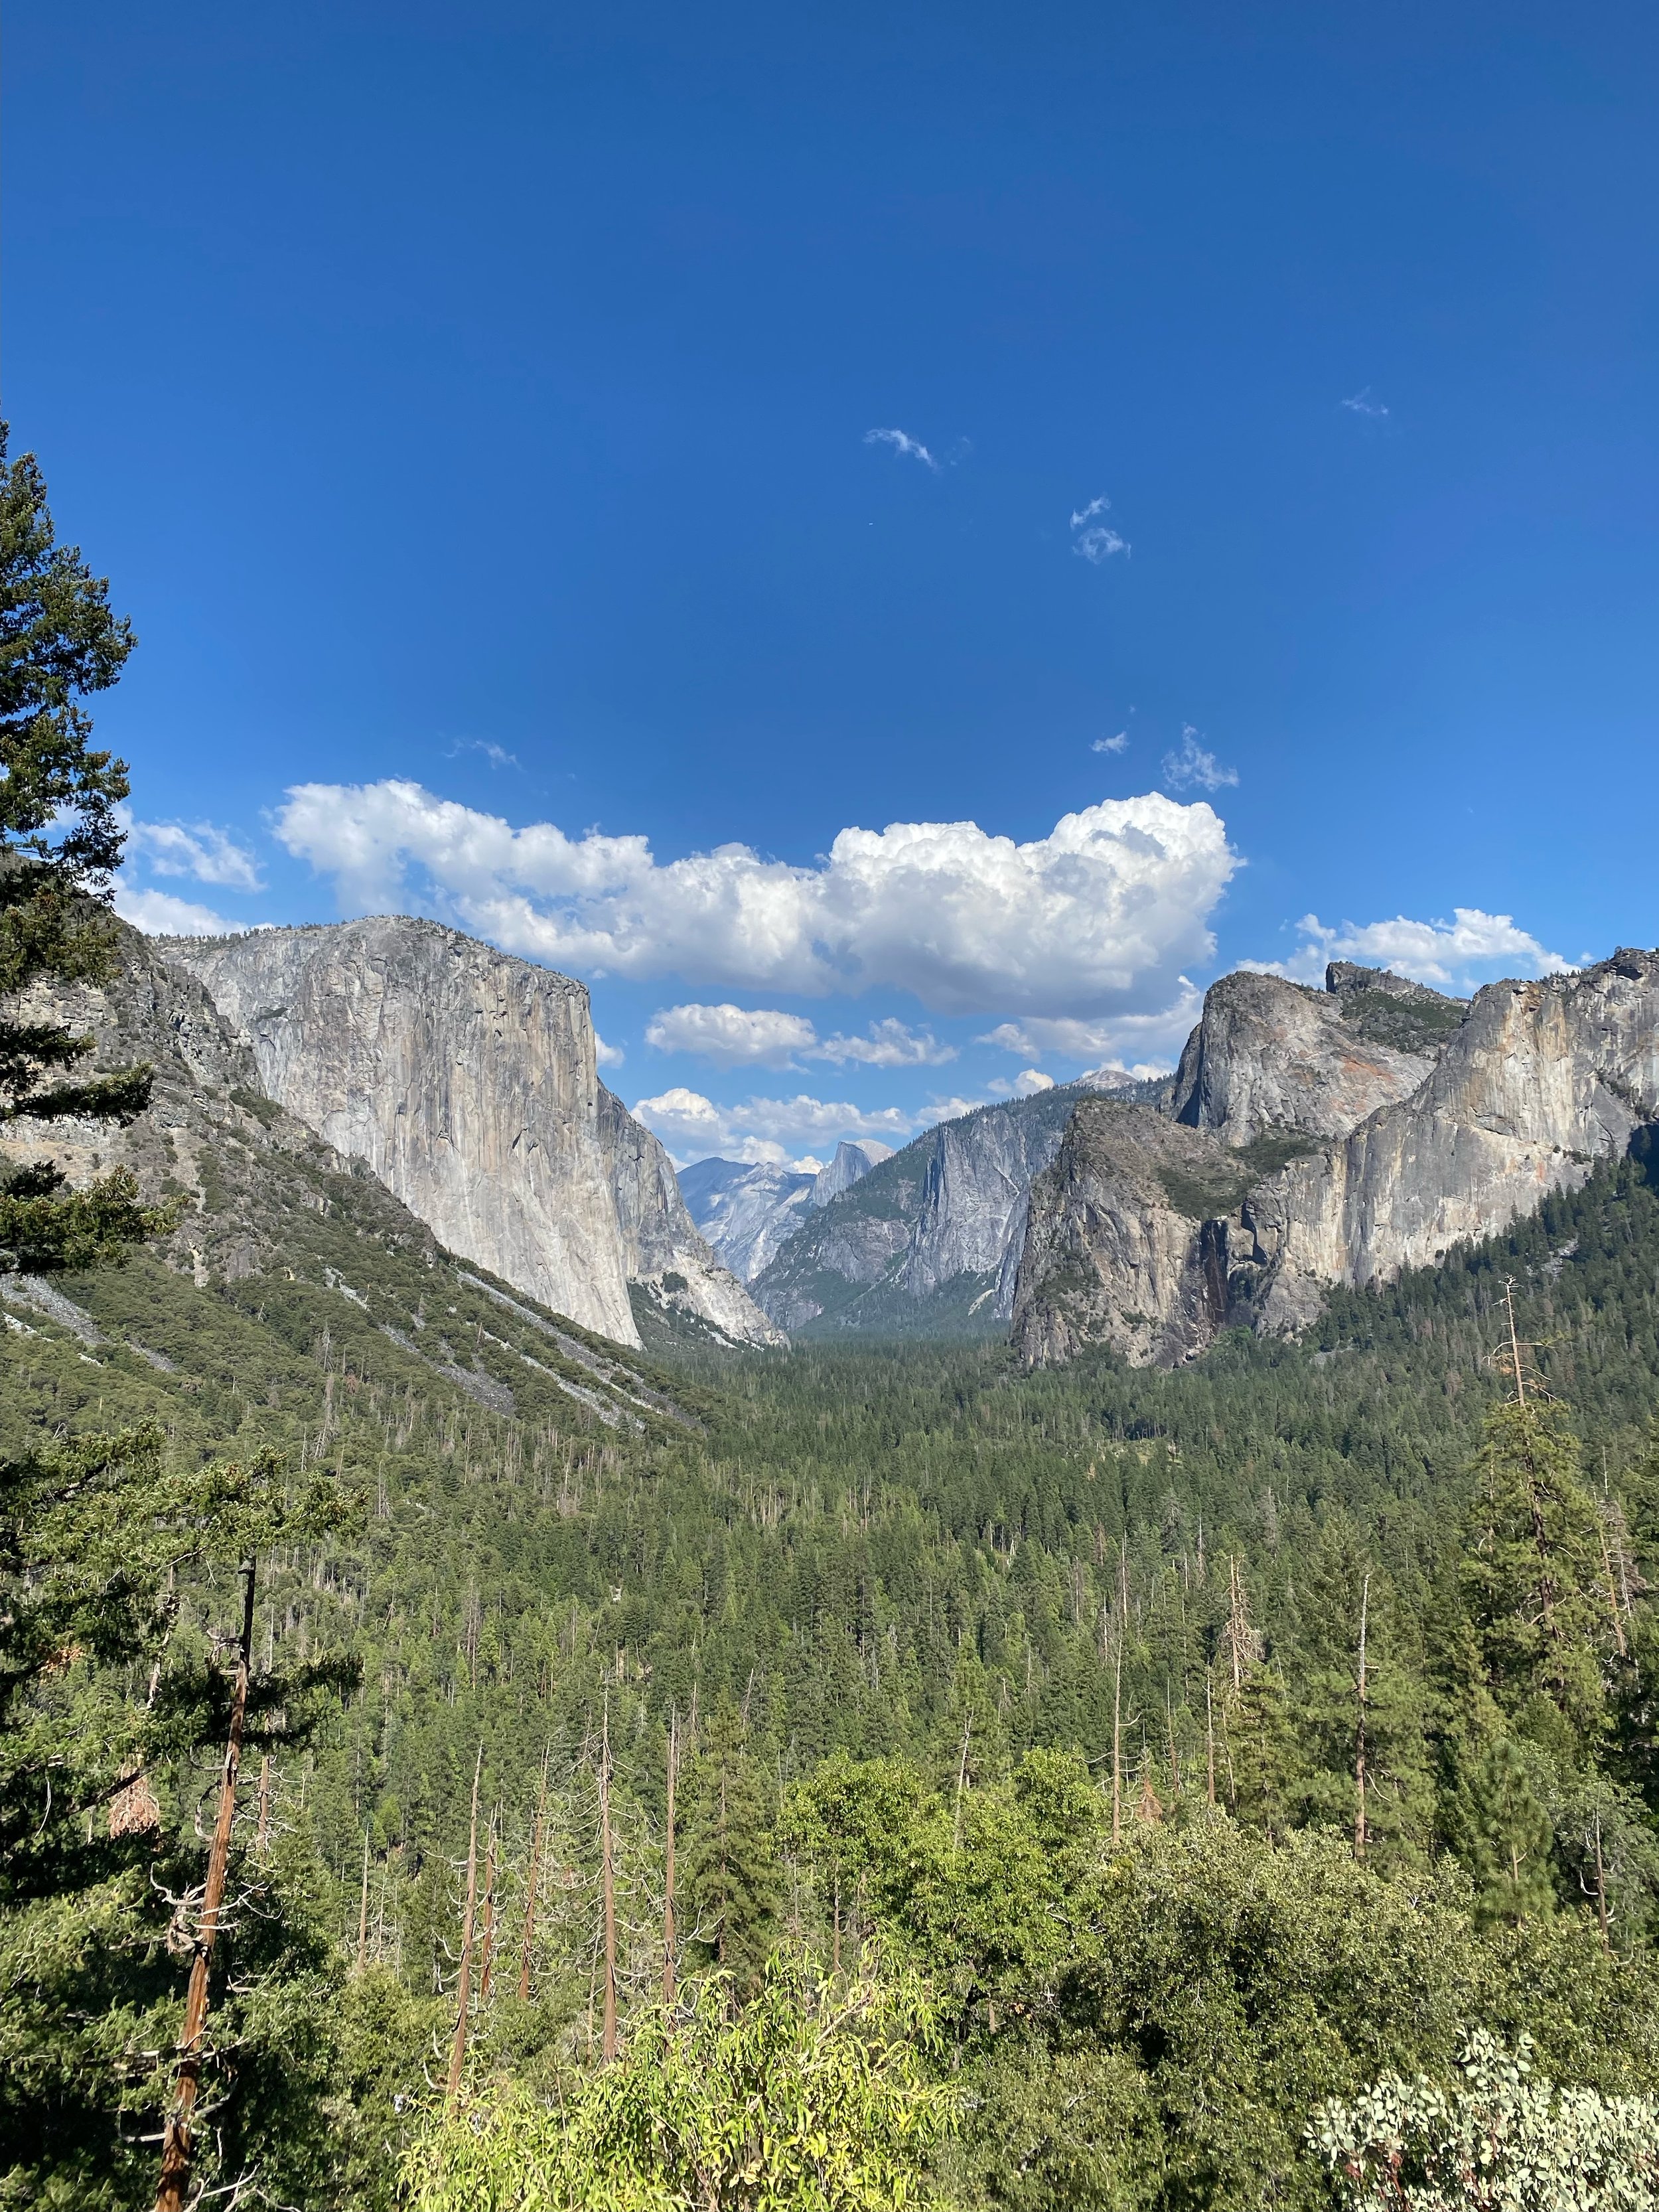
Yosemite National Park is one of the most iconic parks in the US. Known for its world class rock climbing, the iconic Half Dome cable hike, and epic landscape views; this park should be at the top of your bucket list! Here is a guide to help you plan to backpack on top of the ridge line in Yosemite Park as well as Half Dome hiking information. You will find permit information, trail recommendations, route tips, sample itinerary, and a packing list.
Disclaimer: This blog post may feature some affiliate links, which means I get a small commission if you make a purchase (at no extra cost to you). It’s one of the ways I can keep producing free guides and resources for my readers.
Permits and Passes
America the Beautiful Pass (Annual National Park Pass)
Yosemite Private Vehicle Pass (Do NOT need this is you have the America the Beautiful Pass)
Permits
Peak Hour Timed Entry Pass (Do not need this if you have a Half Dome permit or a Wilderness Permit)
Wilderness Camping Lottery (Opens April 25th -May 3rd)

Travel
Fresno-Yosemite International Airport (2.5 hours to Yosemite Valley)
Oakland International Airport (3.5 hours to Yosemite Valley)
Sacramento International Airport (3.5 hours to Yosemite Valley)
San Jose International Airport (4 hours to Yosemite Valley)
San Francisco International Airport (4 hours to Yosemite Valley)
Transportation
Best way to get to and from Yosemite Valley is to rent a car from the airport and make the drive to the National Park
Accommodations while not backpacking
Yosemite has limited hotel options that aren’t a 2 hour drive from the valley. We have found these options as the best bang for your buck, offering only a 25 min drive to the valley!
Packing List
Here is a packing list specific to backpacking Yosemite National Park. If you are looking for an all inclusive backpacking gear guide, click here!
-
Camping stove and fuel
Lighter
Bear Spray
Bear Canister (required)
Ziplock bags
Sunscreen
Bugspray
Toiletries
-

View from the top of Half Dome
Everything to know about climbing Half Dome
Half Dome as a day hike
Half Dome Lottery (Opens March 1st-31st)
Trail aspects
Miles: 17
Elevation Gain: 5305ft
See packing list above for specific gear needed to climb the Half Dome cables
Half dome as a backpacking route
Your Wilderness Permit trailhead must be one of the following:
Happy Isles to Little Yosemite Valley
Best one, but also the most competitive
Happy Isles past LYV (Donohue Pass eligible)
Glacier Point to Little Yosemite Valley
Sunrise Lakes
Cathedral Lakes
Rafferty Creek to Vogelsang
Mono Meadow
The Wilderness Permits with trails leading to Little Yosemite Valley are hands down the most competitive as it makes getting to Half Dome very easy. If you can get your hands on these, you do not need to apply for a Half Dome day hike permit, you simply ask to add it on when you pick up your Wilderness Permit, the day before entry, at the Wilderness Center (Open 8am-5pm)


Backpacking Routes
There are tons of backpacking routes to choose from in Yosemite with a Wilderness Permit. Here are some links to routes you can choose from in different sections of the park
There are no designated campgrounds or tent pads in Yosemite’s Wilderness. We absolutely loved this as we could make our campsite wherever we wanted each night! Make sure you plan your campsites near a water source though.
To do before backpacking
Pick up Permits from wilderness center
Ask park rangers where water is along your route to ensure you camp near water
Can rent bear canisters at this time if needed
Little Yosemite valley has bear lockers at each campsite (no need to carry bear canisters!) and bathrooms
Sample Backpacking Itinerary Options
Backpacking the Full North Rim
Wilderness permit needed for this route: Old Big Oak Flat Road
Day 1
Start backpacking route at Old Big Oak Flat Road Trailhead
Camp around 8.5 miles in (Ribbon Creek water source) and camp there for the night
Option to carry/ration water and hike to El Capitan (2 more miles) to camp there
Day 2
Hike 7 miles to Yosemite Falls and camp there for the night (Mile 15.5)
Will pass through El Captain and Eagles peak (a great view of El Cap) this day
Day 3
We were determined to camp on top of North Dome (get to wake up with Half Dome view) this night, but knew there was not a water source near this campground. So, we decided to carry an extra 2L of water each, from the last water source, for about 1.5 miles to North Dome. This was 100% worth it to be able to camp at this site, but is definitely not for everyone as we had to ration our water for the night and next morning. So here are two options for this day.
In order to camp on North Dome
Hike 4 miles to Royal Arch Creek (Fill water as much as possible and carry extra water)
Hike another 1.5 miles to Half Dome and camp for the night (Mile 20.5)
In order to camp next to a water source
Hike 4 miles to Royal Arch Creek and camp here
Day 4
Hike 5.5 miles to Snow Creek and camp here (Mile 26)
Day 5
Hike 5 miles out to Lower Pines Campground
Catch shuttle back to Old Big Oak Flat Road Trailhead (Green Route)
Half Dome as a backpacking route
Wilderness permit needed for this route: Happy Isles
Day 1
Hike from Happy Isle trailhead to Little Yosemite Campground (5 miles)
Can take Mist trail or John Muir Trail up (Mist trail is shorter, but steeper and slippery from Vernal Falls. John Muir is longer, but less steep and dry)
Camp at Little Yosemite Campground
Day 2
Day hike from Little Yosemite campground to Half Dome and back (10 miles)
Camp at Little Yosemite Valley
Day 3
Hike from Little Yosemite Campground to Happy Isle Trailhead (take John Muir trail down as Mist trail is very steep and slippery from Vernal Falls!)
Stay in hotel in Yosemite West
Backpacking Clouds Rest
Wilderness Permit needed for this route: Happy Isles
Day 1
Hike from Happy Isle trailhead to Little Yosemite Campground (5 miles)
Can take Mist trail or John Muir Trail up (Mist trail is shorter, but steeper and slippery from Vernal Falls. John Muir is longer, but less steep and dry)
Camp at Little Yosemite Campground
Day 2
Day hike Clouds Rest Loop (12 miles)
Camp at Little Yosemite Campground
Day 3
Hike from Little Yosemite Campground to Happy Isle Trailhead (take John Muir trail down as Mist trail is very steep and slippery from Vernal Falls!)
Pohono Trail (east to west)
Wilderness Permit needed: Glacier Point
Day 1
Hike 5.5 miles to Bridalveil Creek to camp for the night
Will pass Taft Point this day
Day 2
Hike 4 miles to Artist Creek to camp for the night
Will pass Dewey Point this day
Day 3
Hike 2.5 miles to Inspiration Point trailhead (Tunnel View)
Take shuttle back to car at Glacier Point trailhead
Half Dome as a day hike
Half dome permit needed as you will not be camping at Little Yosemite Valley
Day 1
5am: Start Half Dome hike at Happy Isles trailhead
Have your printed Half Dome Permits with you as they will check them before the sub-dome
This will be a long day! Ensure you bring a water filter, camp stove, and a full lunch to make for the day as you will need the calories!


